


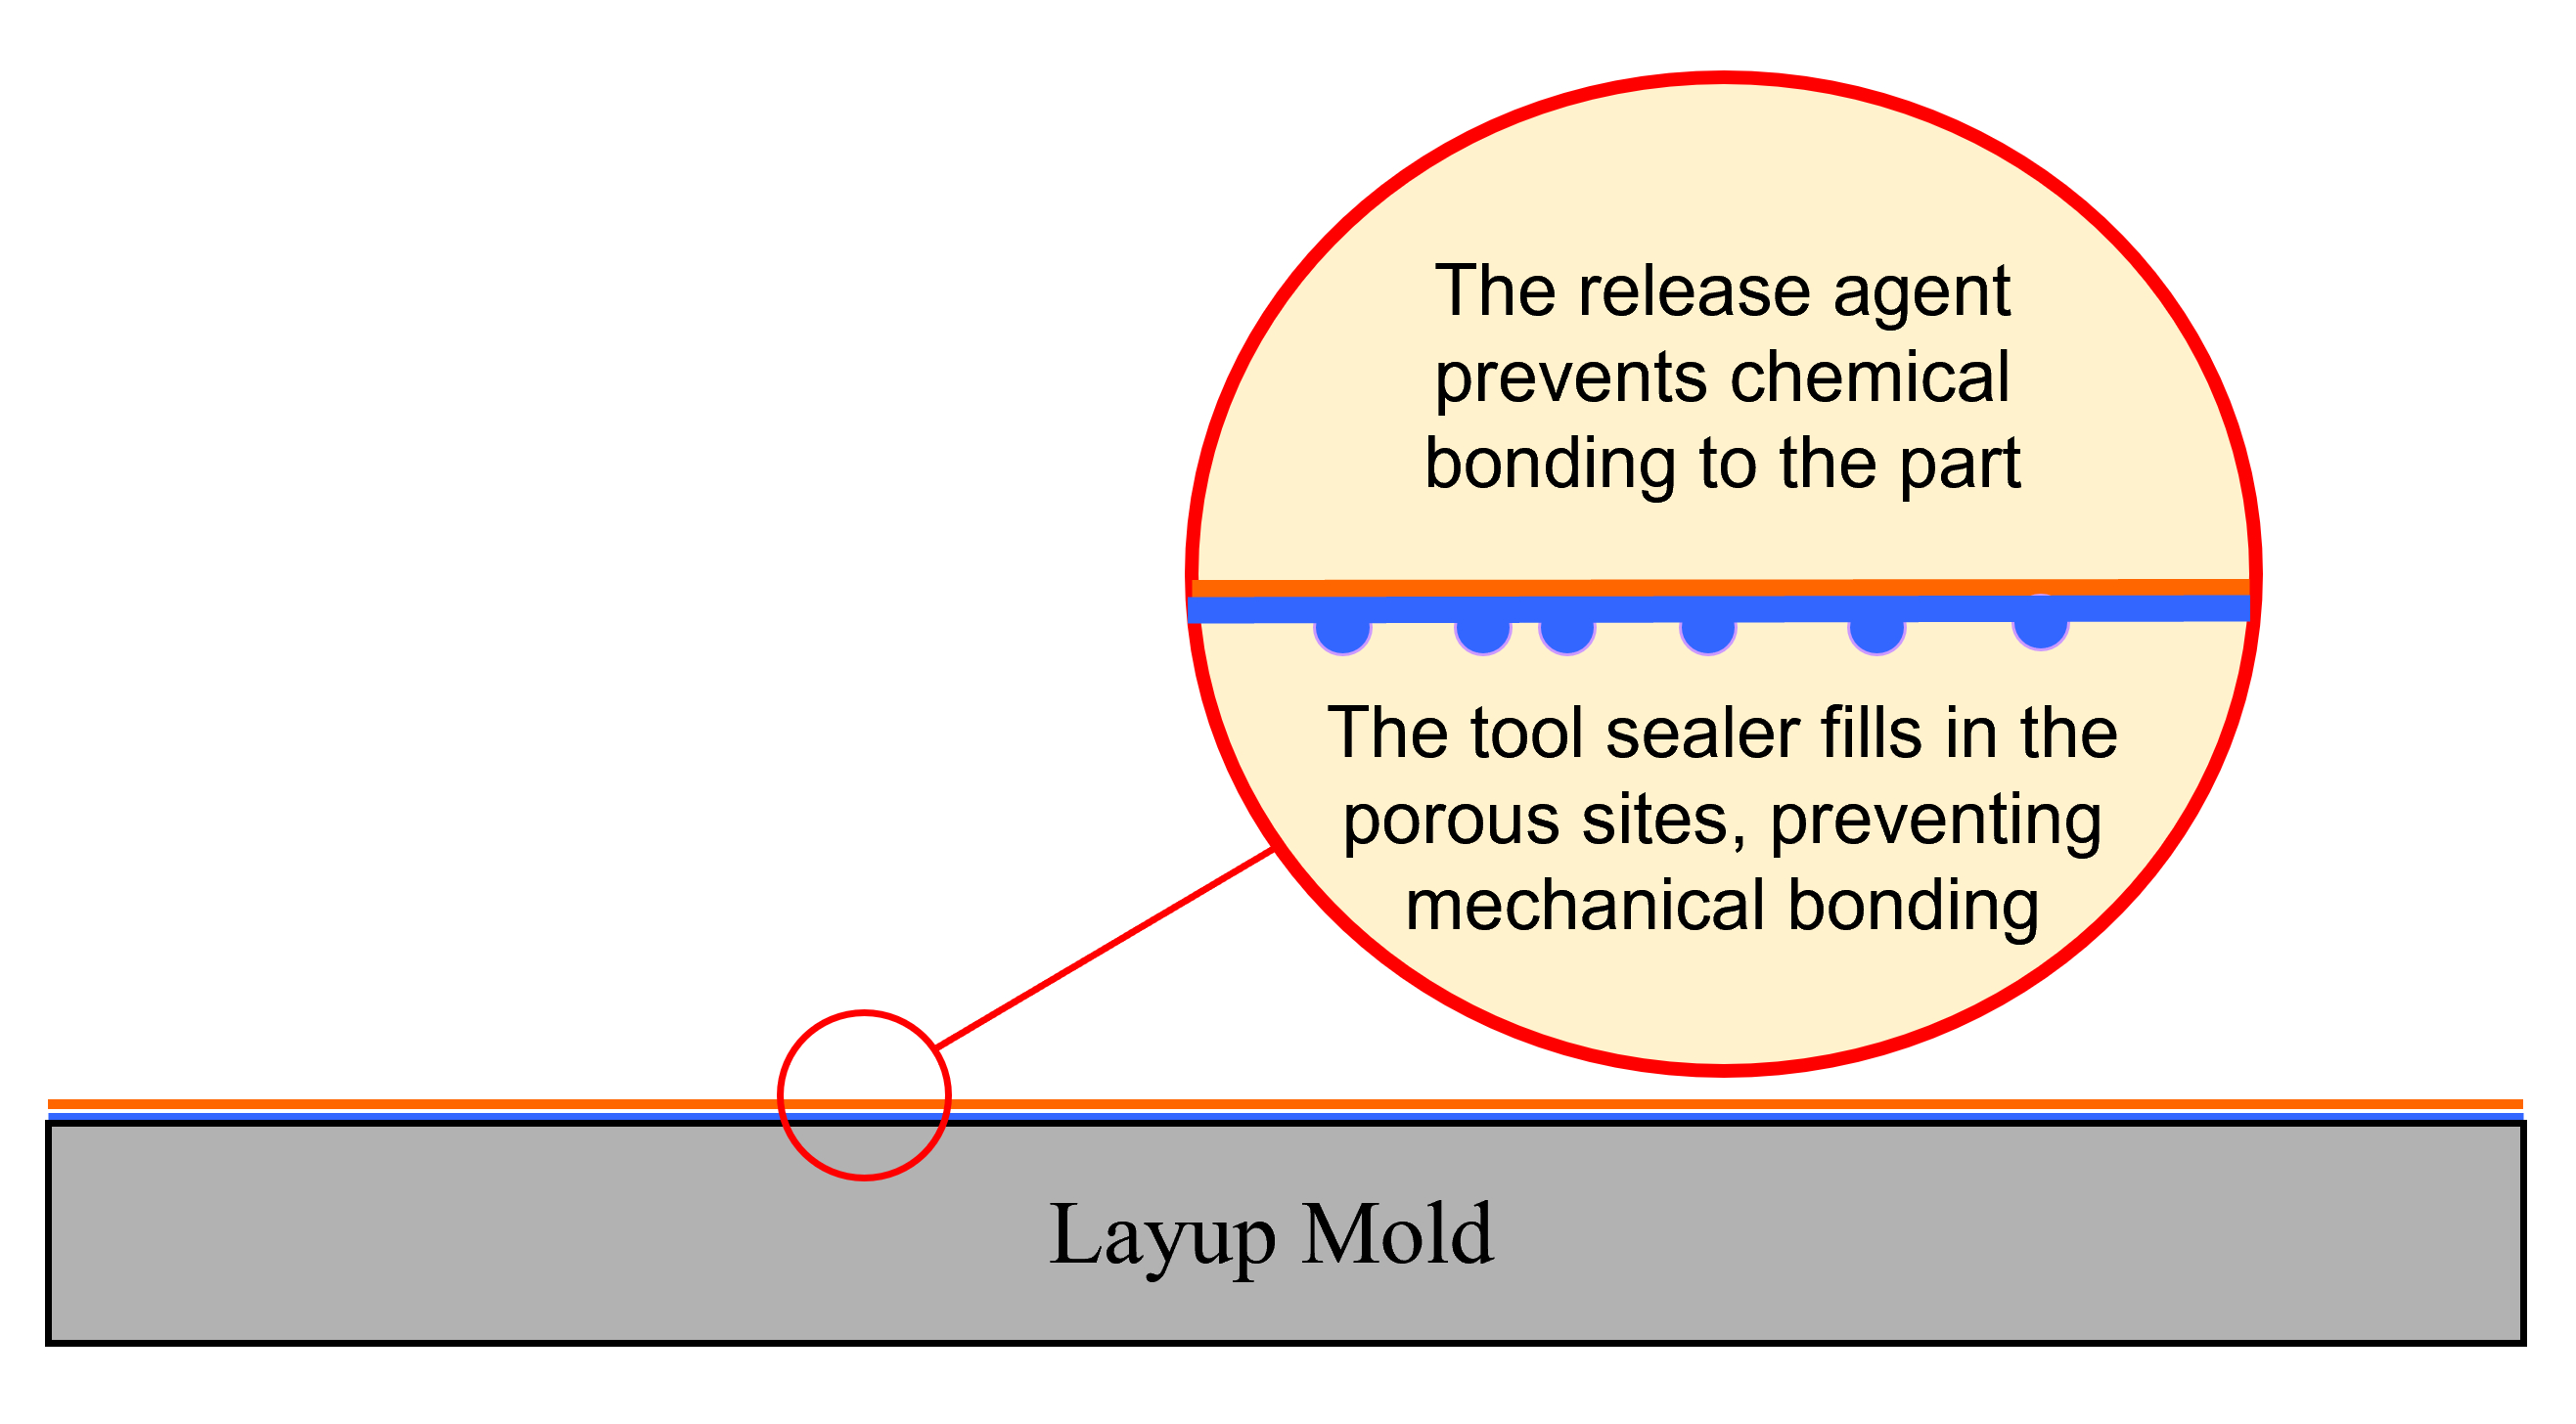
Figure 1. The sealer is designed to reduce mechanical sites on the tool. The release agent provides a low surface energy to help promote part release. Photo Credit, all images: Abaris Training Resources
How many among us have ever stuck a composite part in a layup tool? Was there damage to the part or the tool while trying to demold it? Was the part scrapped as a result? What was required to fix the tool? Was production delayed due to this incident? We could go on and on with these questions, but I think you get the point — ineffective part release is costly.
When in search of the root cause of the stuck part, one might first focus on the mold release agent itself. While a good starting point (there could be issues with the release agent itself due to improper storage and handling), there may be more to it than a material problem and we may need to dig deeper to identify the real cause so we can implement sound corrective action and prevent it from happening again.


Semi-permanent release systems
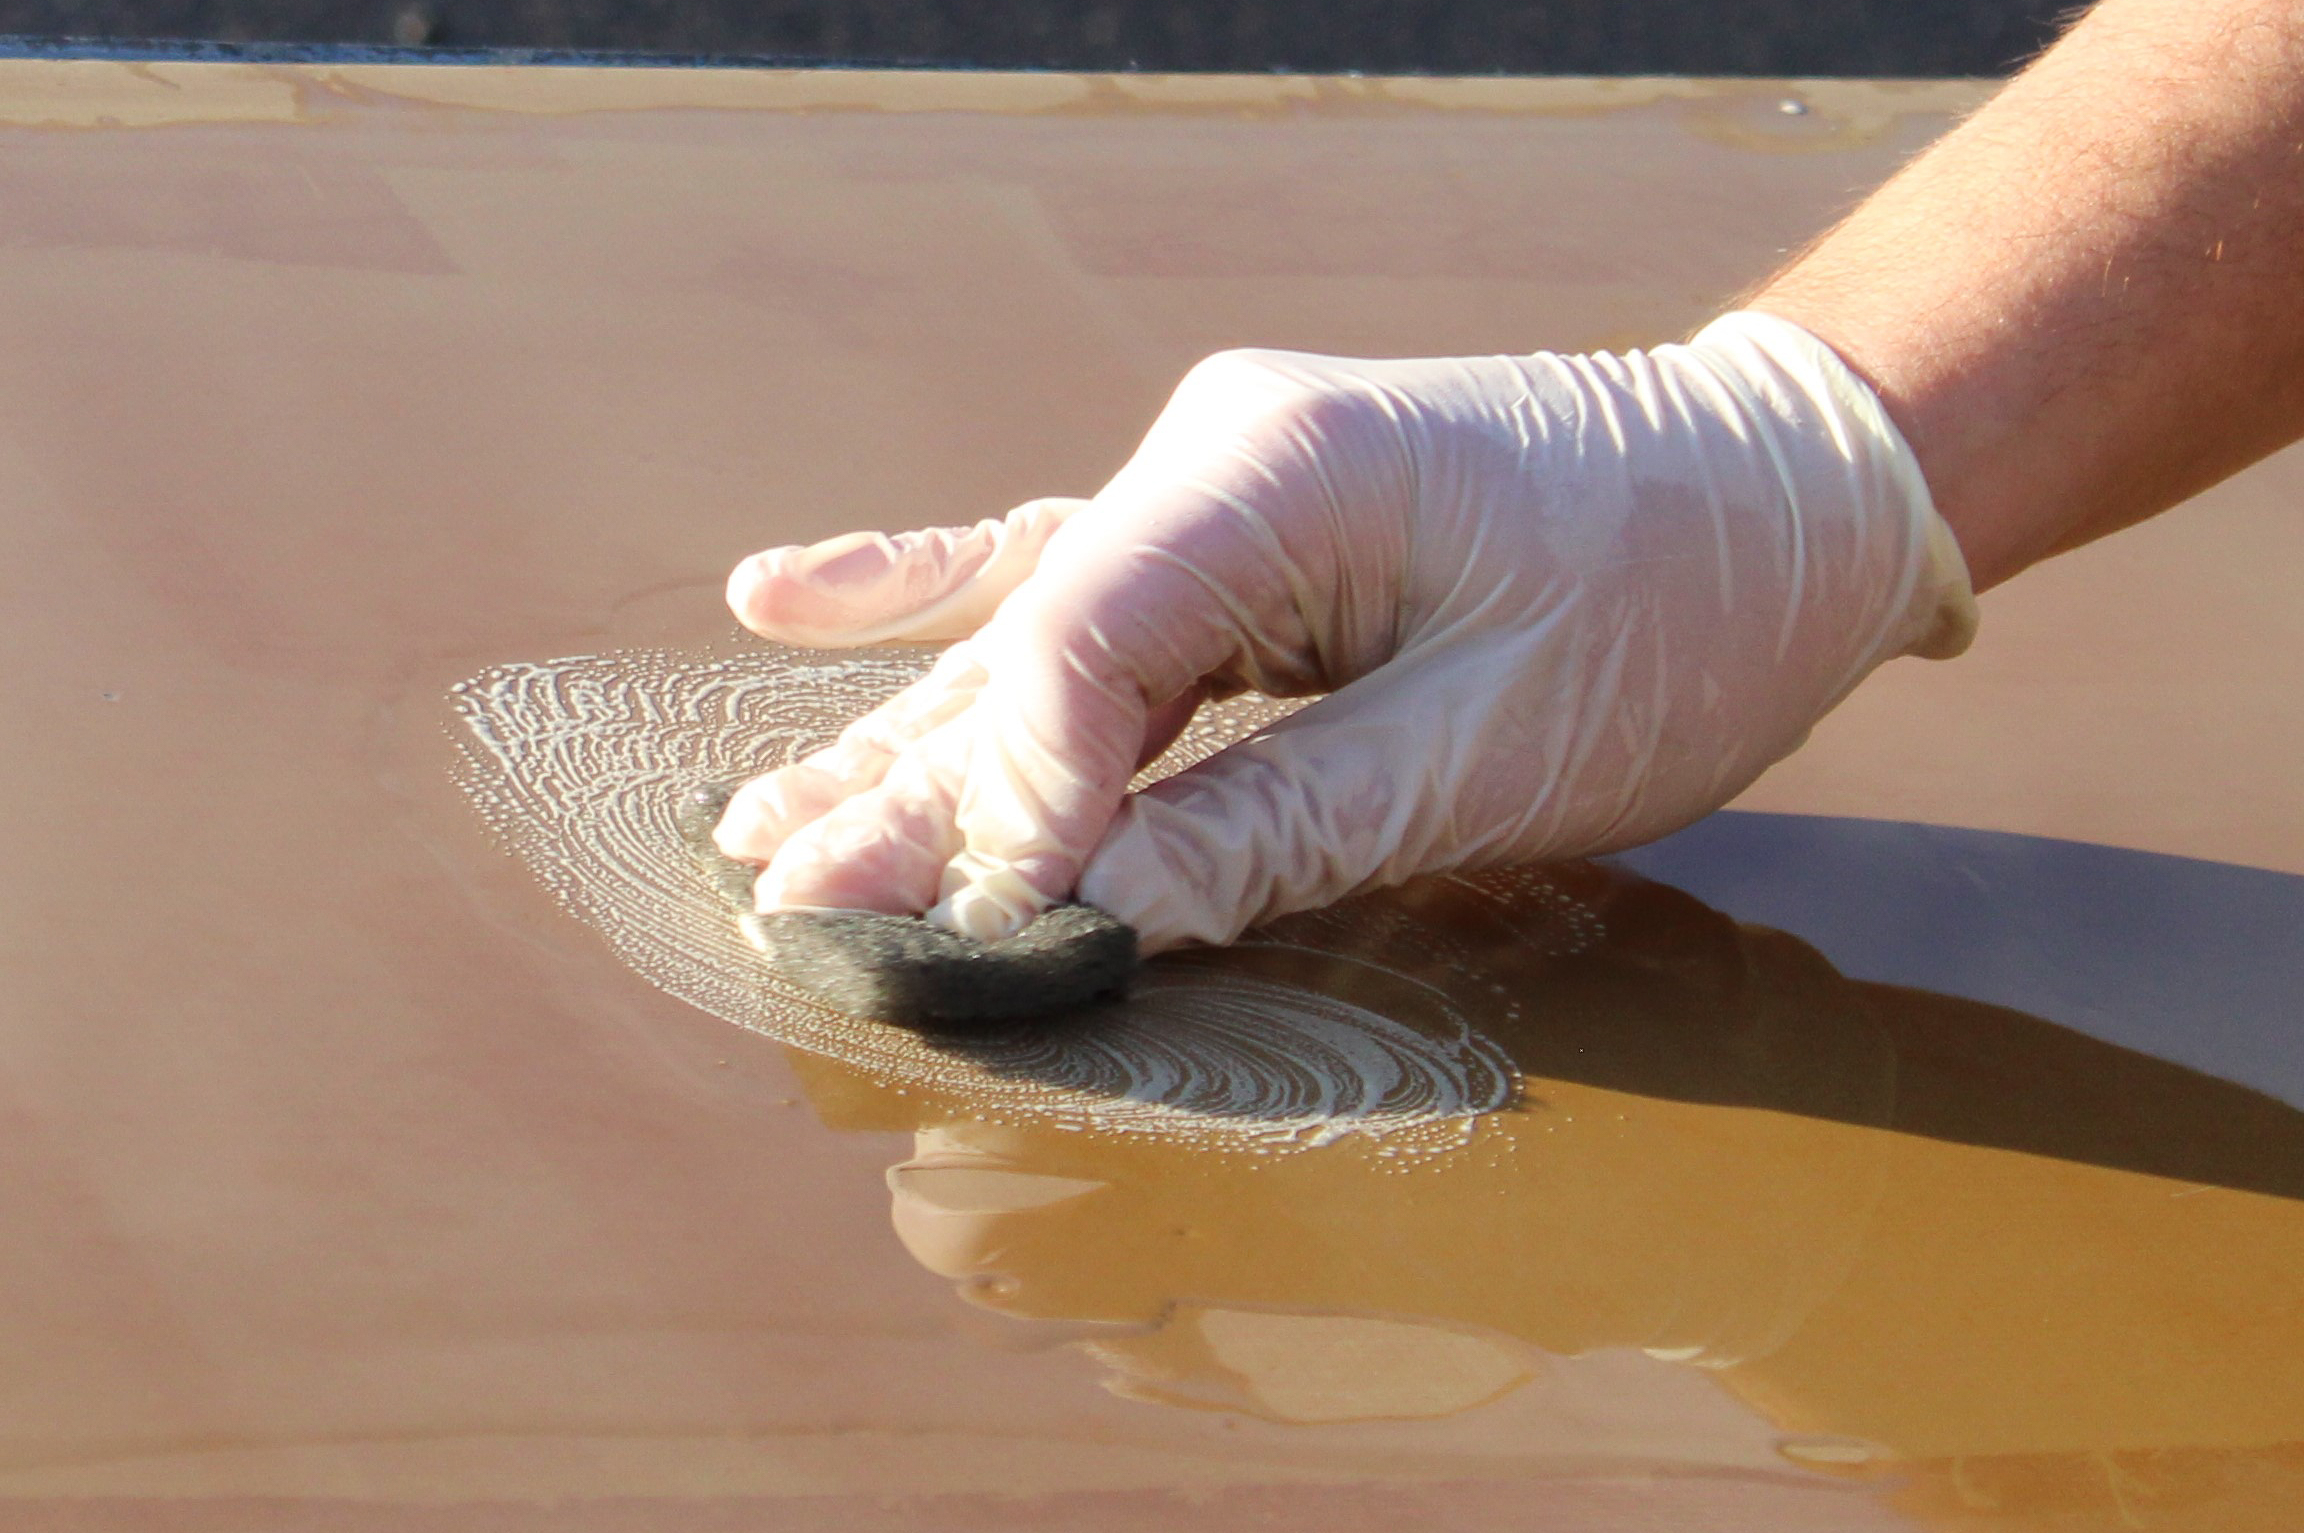
Figure 2. Cleaning and abrading the tool surface promotes wetting and adhesion of subsequent tool sealer coats.
Semi-permanent (SP) release systems are made up of two different materials; a polymer coating that serves as a tool surface sealer, and a separate polymer coating that acts as a release agent. The tool sealer is just that, a fully cured coating on the tool surface that is intended to fill micropores and reduce micromechanical sites that may otherwise inhibit part release. The release agent is a cured polymer coating that adheres to the sealer layer and provides a low energy surface, enabling part release after processing (Fig 1).
There are many water-based and solvent-borne formulas available from SP manufacturers which are designed to accommodate different materials and process challenges. For example, you may need a specific system that works best for hand layup or autoclave-cured prepregs, versus deep draft resin transfer or compression molding. It is best to use the right products for the right application; in some cases, a solvent-borne sealer might be chosen to seal the mold and a water-based release agent used in production to reduce exposure to volatile organic compounds (VOCs) in the environment.
The reason that these materials are deemed “semi-permanent” is that they deteriorate over time as the mold is subjected to multiple thermal cycles and part demolding operations. Trace amounts of the release coating are abraded away with each run and, over time, microcracks start to form in the remaining layer(s) due to thermal expansion and shrinkage of the materials.
While most SP release agents are designed to hold up for 3-20 cycles, the aerospace community endeavors to mitigate the risk of a part sticking by applying a fresh coat of release agent over the previous coat(s) after each molding cycle. This results in a “good” layer of release agent being applied over a buildup of layers that are continuously degrading. Nevertheless, every reapplication operation presents its own risk each time operators are required to apply a fresh coat. Some of the issues that raise the risk of failure are as follows:
- Not achieving full coverage with the new coat, especially in areas where resin flash has been scraped off the tool or where wedges were used to remove the previous part during demolding — this usually results in the part adhering to the tool in these areas.
- The release agent is allowed to puddle in the radii, around features or hardware, or excessive amounts were left on the tool surface for any period of time during the application process, resulting in adhesion (bonding) instead of releasing from the part.
- Fresh release agent is not allowed to flash between cross-coats, or the coating is not properly cured prior to returning to production. Again, this can result in adhesion instead of release from the part.
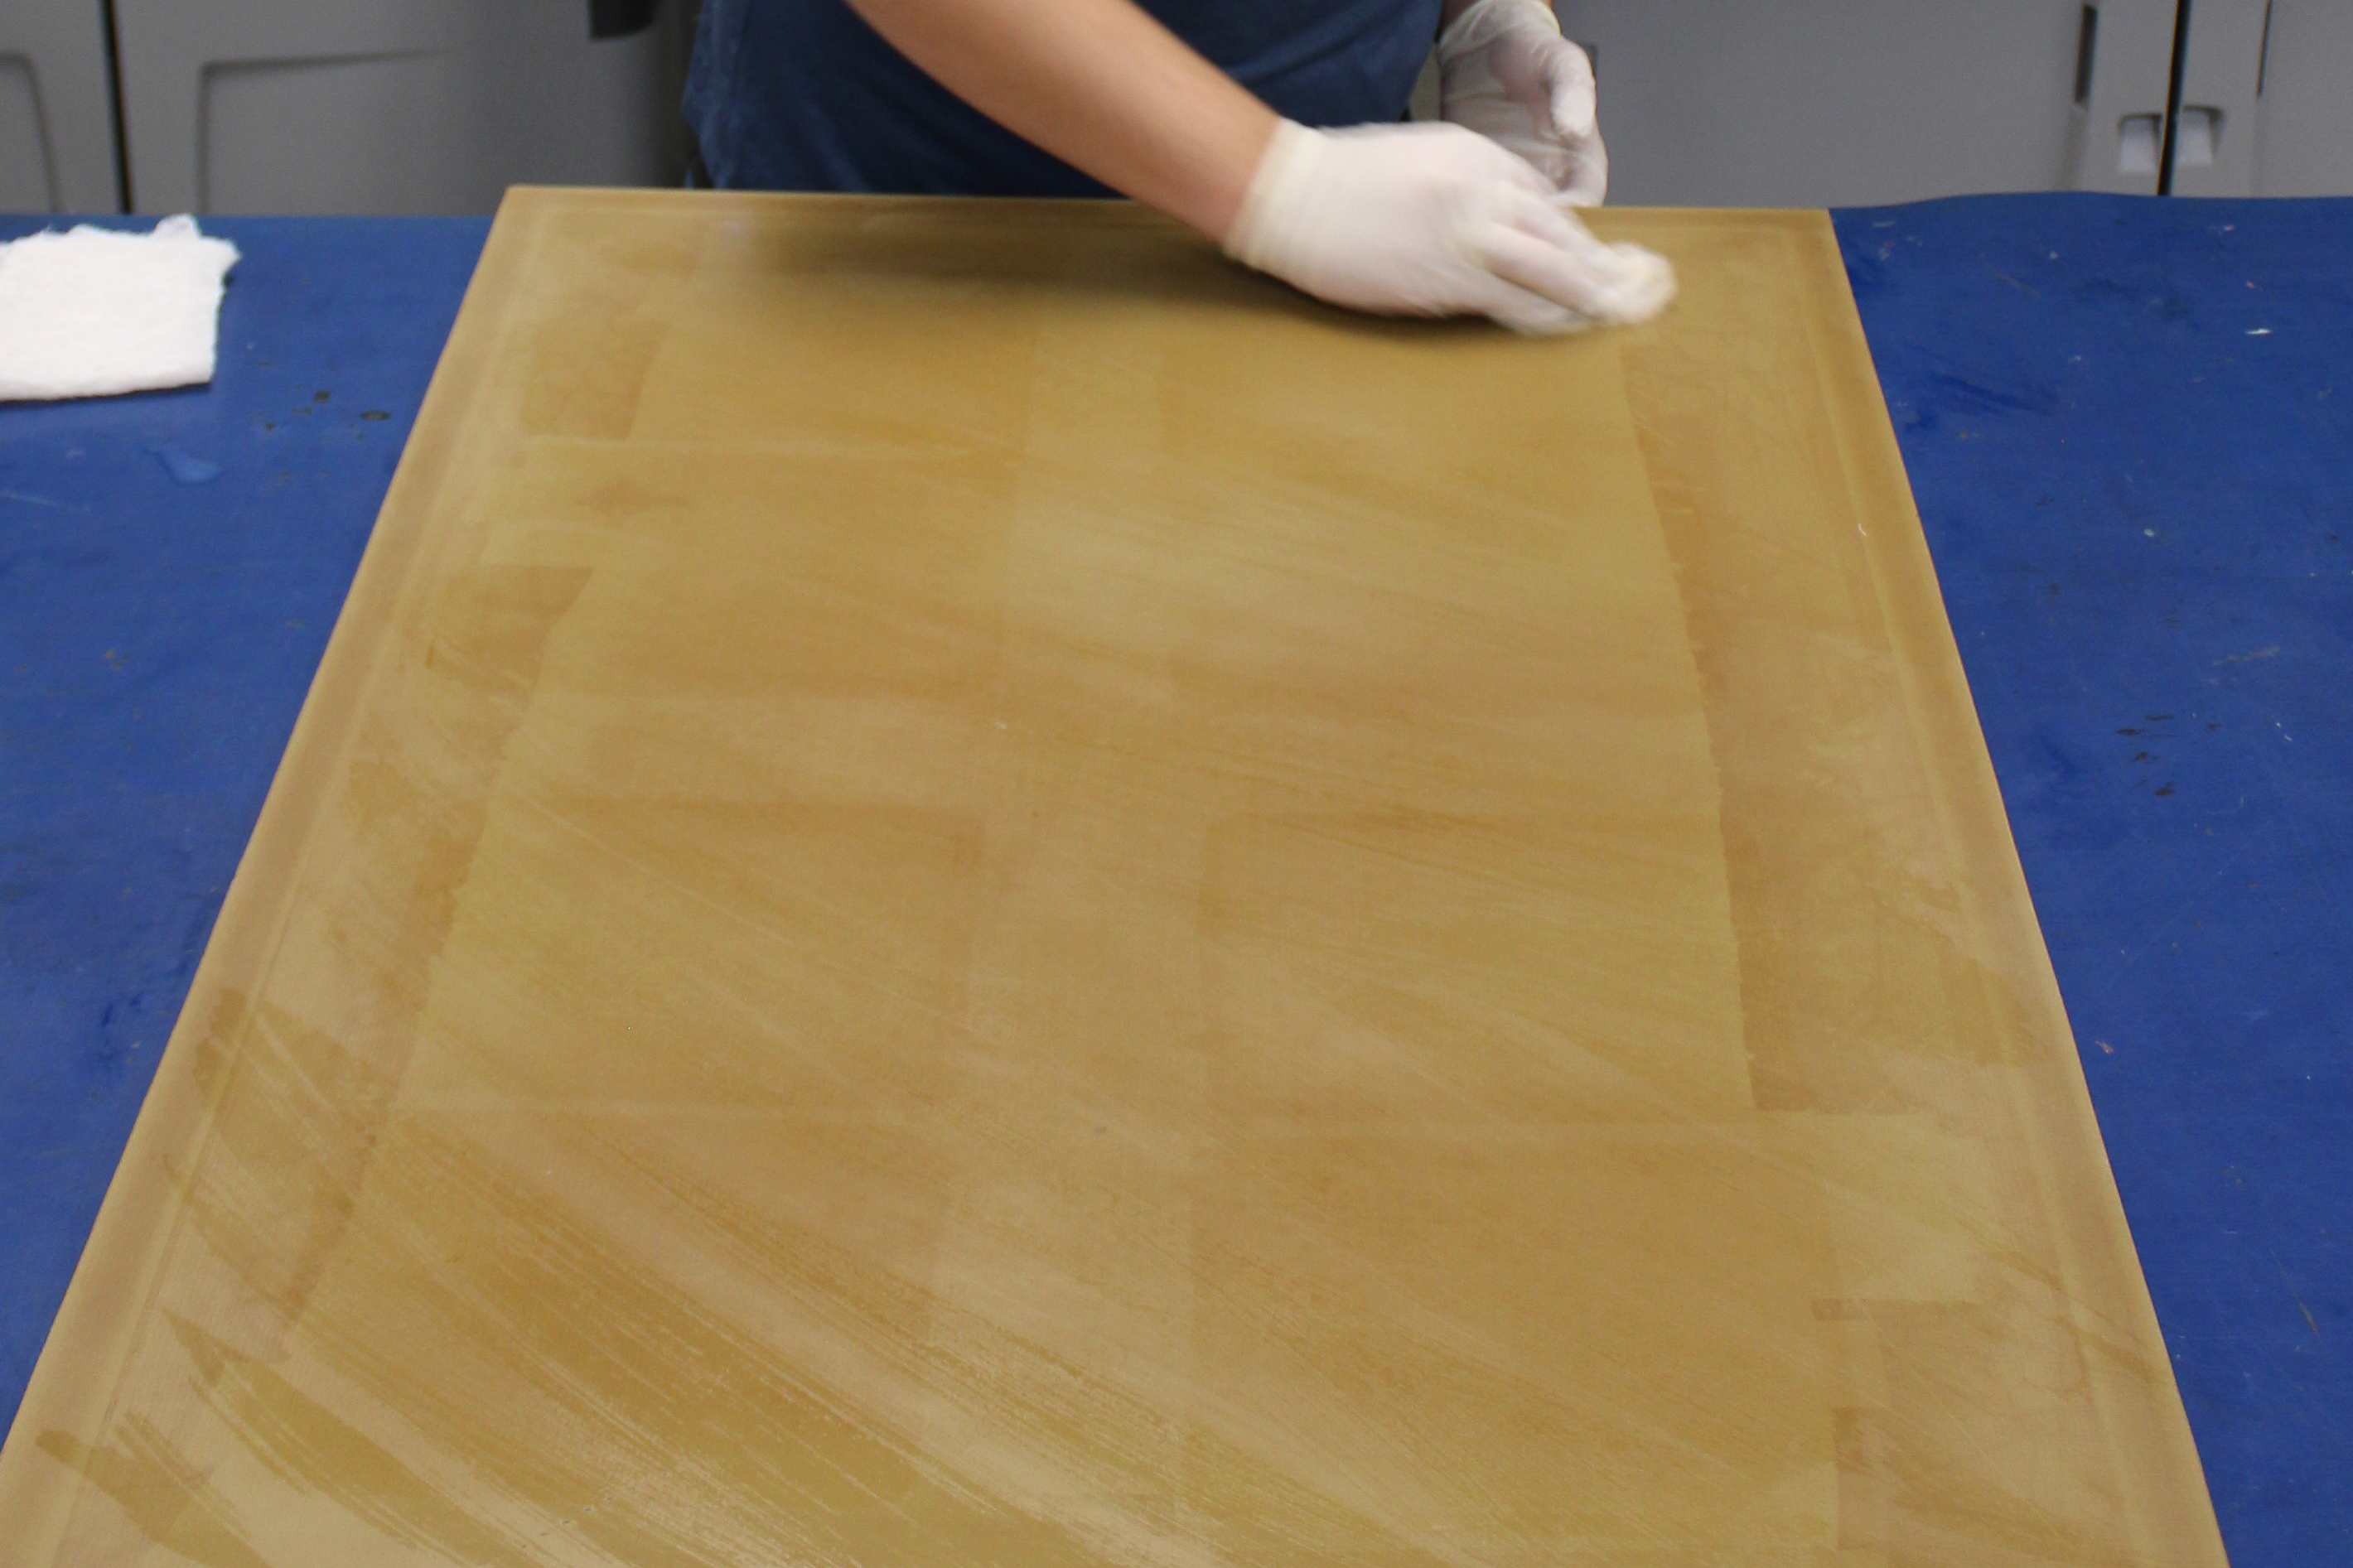
Figure 3. Each thin coat of tool sealer is applied and allowed to dry. This is repeated until all coats are applied. Afterwards, all coats are fully cured prior to the application of the release agent.
Even if operators are diligent and follow strict protocols to prevent sticking, too much buildup of good layers over bad increases the chance of the underlying coats flaking off the surface and exiting with the part. For this reason (and the fact that buildup changes the surface dimensions), regular maintenance is required to reduce this risk by stripping the built-up layers back to the tool or tool sealer and starting again with fresh sealer and/or release coats. Typically, end users will specify the tool maintenance intervals based upon production rate (number of cycles) or time in production (number of weeks/months).
The following is a generic list of steps to follow to achieve a successful seal and release system, starting from a pristine tool surface to reapplication of SP release agents in production.
Initial preparation with tool sealer:
- Clean the tool surface using an approved mold cleaner and wipes.
- Lightly energize the entire tool surface with ultra-fine abrasives. Repeat the cleaning operation (Fig 2).
- Apply a light coat of tool sealer and allow to dry for 10-20 minutes prior to applying the next coat (Fig. 3).
- Apply remaining coats (up to six total) in the same manner as above.
- Fully cure the tool sealer as prescribed by the manufacturer before proceeding with release application.
Initial mold release application:
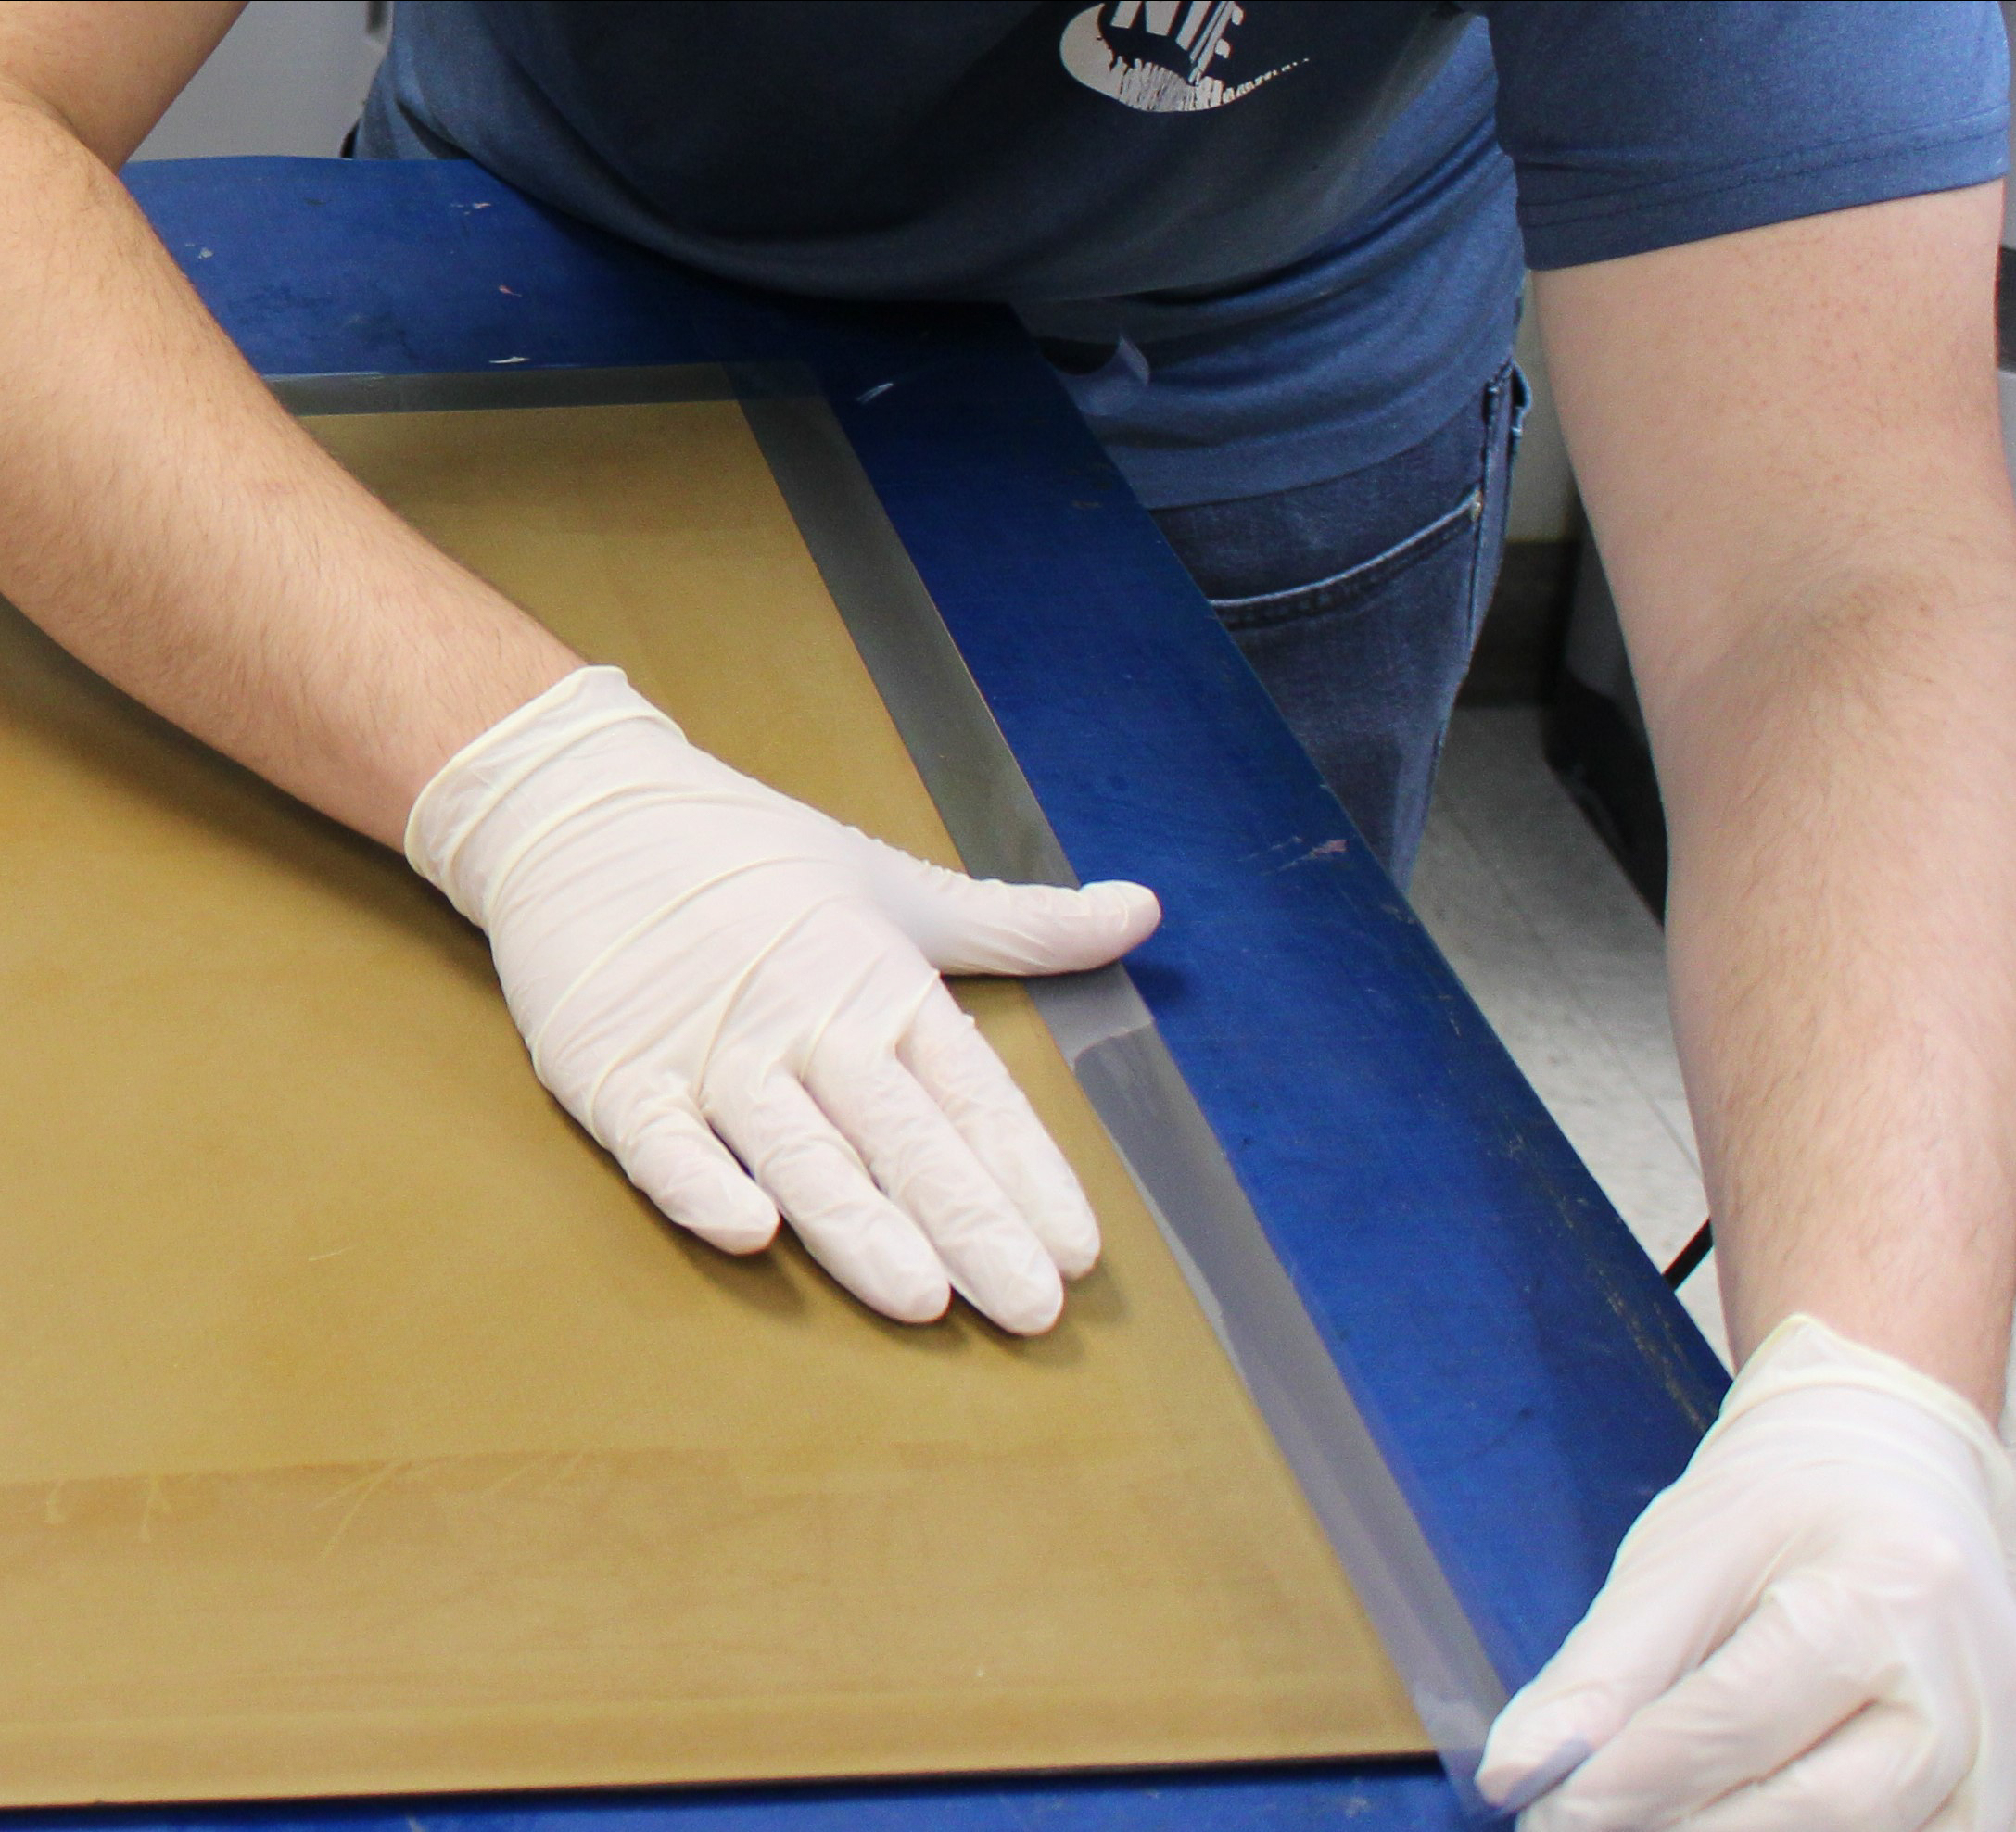
Figure 4. Mask off all areas that are not to be treated with mold release — especially areas where bag sealant tape is to be applied (bag sealant tape does not stick well to a released surface).
- Mask off the tool surface outside of part area if vacuum bag sealant will be used (Fig 4).2
- Apply a very light coat of release agent and allow to dry 10-15 minutes prior to applying the next coat. Pre-coated release wipes can help this effort. (Fig. 5).
- Repeat the proceeding step until the recommended number of coats are attained.
- Fully cure the release coating as prescribed by the manufacturer prior to molding. An elevated temperature cure is highly recommended.
- Remove the tape from the tool periphery. Look for a contrast between the release coat and the sealer. The release coat should be slightly glossier (Fig 6).
- The tool is now ready for use in production.
Reapplication of mold release in production:
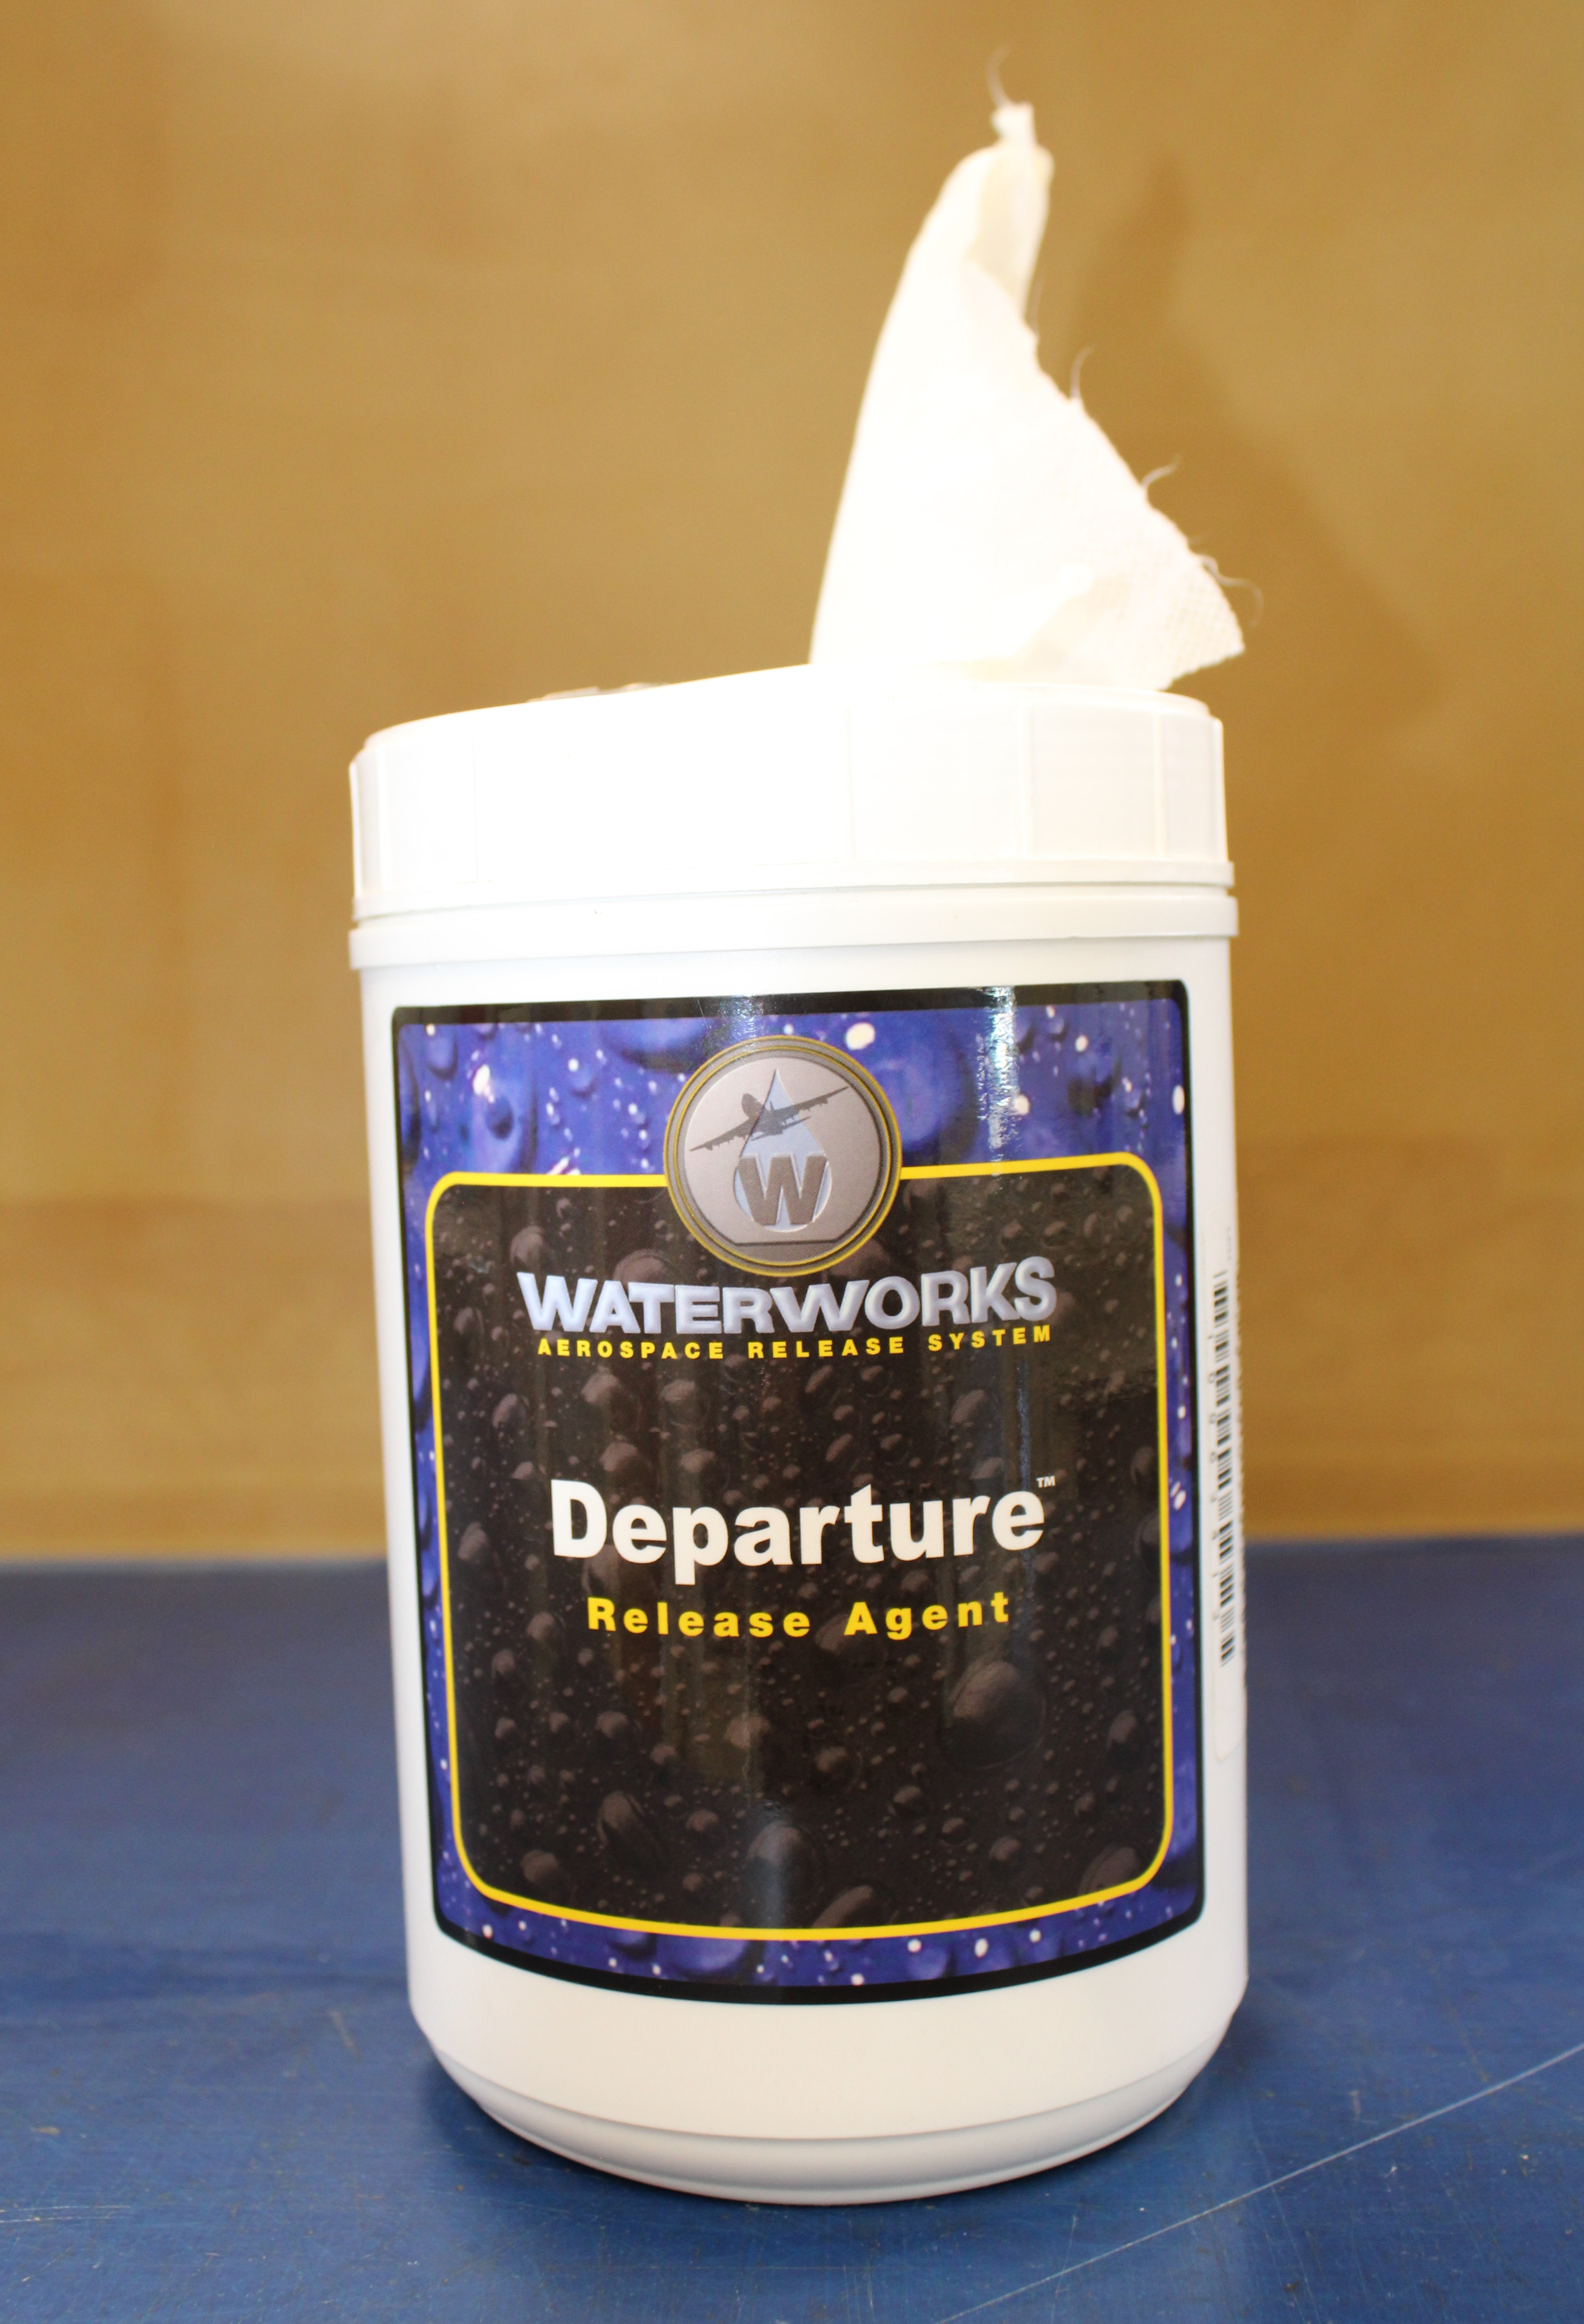
Figure 5. Some manufacturers can supply release-coated wipes to avoid excessive release agent from being deployed. This prevents puddling in the corners or in low spots in the tool. Waterworks mold release agent is a brand of Zyvax, which is now owned by Chem-Trend (Howell, Mich., U.S.).
- Carefully remove all debris from the mold surface, especially where resin flash remains or where wedging has occurred. Use soft scrapers and approved wipes (do not use solvents).
- Using a cross-coat pattern, apply a very light coat of release agent and allow to dry 10-20 minutes prior to applying the next coat.
- Apply a second coat in the same manner and cure as prescribed, before returning the tool to production.
A common theme for achieving best results — using very thin coats of release agent while providing full coverage of the tool surface — is the key to success. Promote a “less is more” philosophy with the coatings and never compromise the time between coats or the final cure. This approach to using SP systems will result in better release at demolding and less risk of any parts sticking in the future.

Figure 6. A clear difference between the mold sealer and the release coat is visible in this photo. The sealer (at the edges) is lighter in color like the glass fiber-reinforced polymer (GFRP) tool itself and the mold release appears slightly darker and glossier.


Related Content

VIDEO: Enhancing composite tooling with additive manufacturing
At JEC World 2025, CW editor-in-chief Scott Francis explored the latest advancements in composite tooling with Massivit and Sika.
Read More
Corebon induction heating
This sidebar to CW’s August 2024 feature article reviews this technology for more efficient composites manufacturing and why it aligns with Koridion active core molding.
Read More
Troubleshooting thermoplastic composite stamp forming
Understand the basic science of TPC stamp forming, a manufacturing process steadily gaining momentum in aerospace and mobility applications thanks to its rapid forming, short cycle times and automated methods.
Read More
Laser cleaning in composites manufacturing
Laser cleaning technologies for cleaning production molds for composites offer alternatives to harsher, less-friendly methods with features like automation and higher power cleaning.
Read MoreRead Next

Why does my composite mold leak under vacuum or applied pressure?
Louis Dorworth of Abaris Training Resources outlines key considerations to make when fabricating quality composite molds to minimize risk of leakage under pressure or vacuum.
Read More
Kaneka BMI material attains >25% lead time, >20% tool cost reductions in Janicki evaluations
Process evaluations find that novel BMI polymer chemistry addresses longstanding manufacturing challenges of BMI tooling prepregs while maintaining high temperature performance and durability.
Read More