


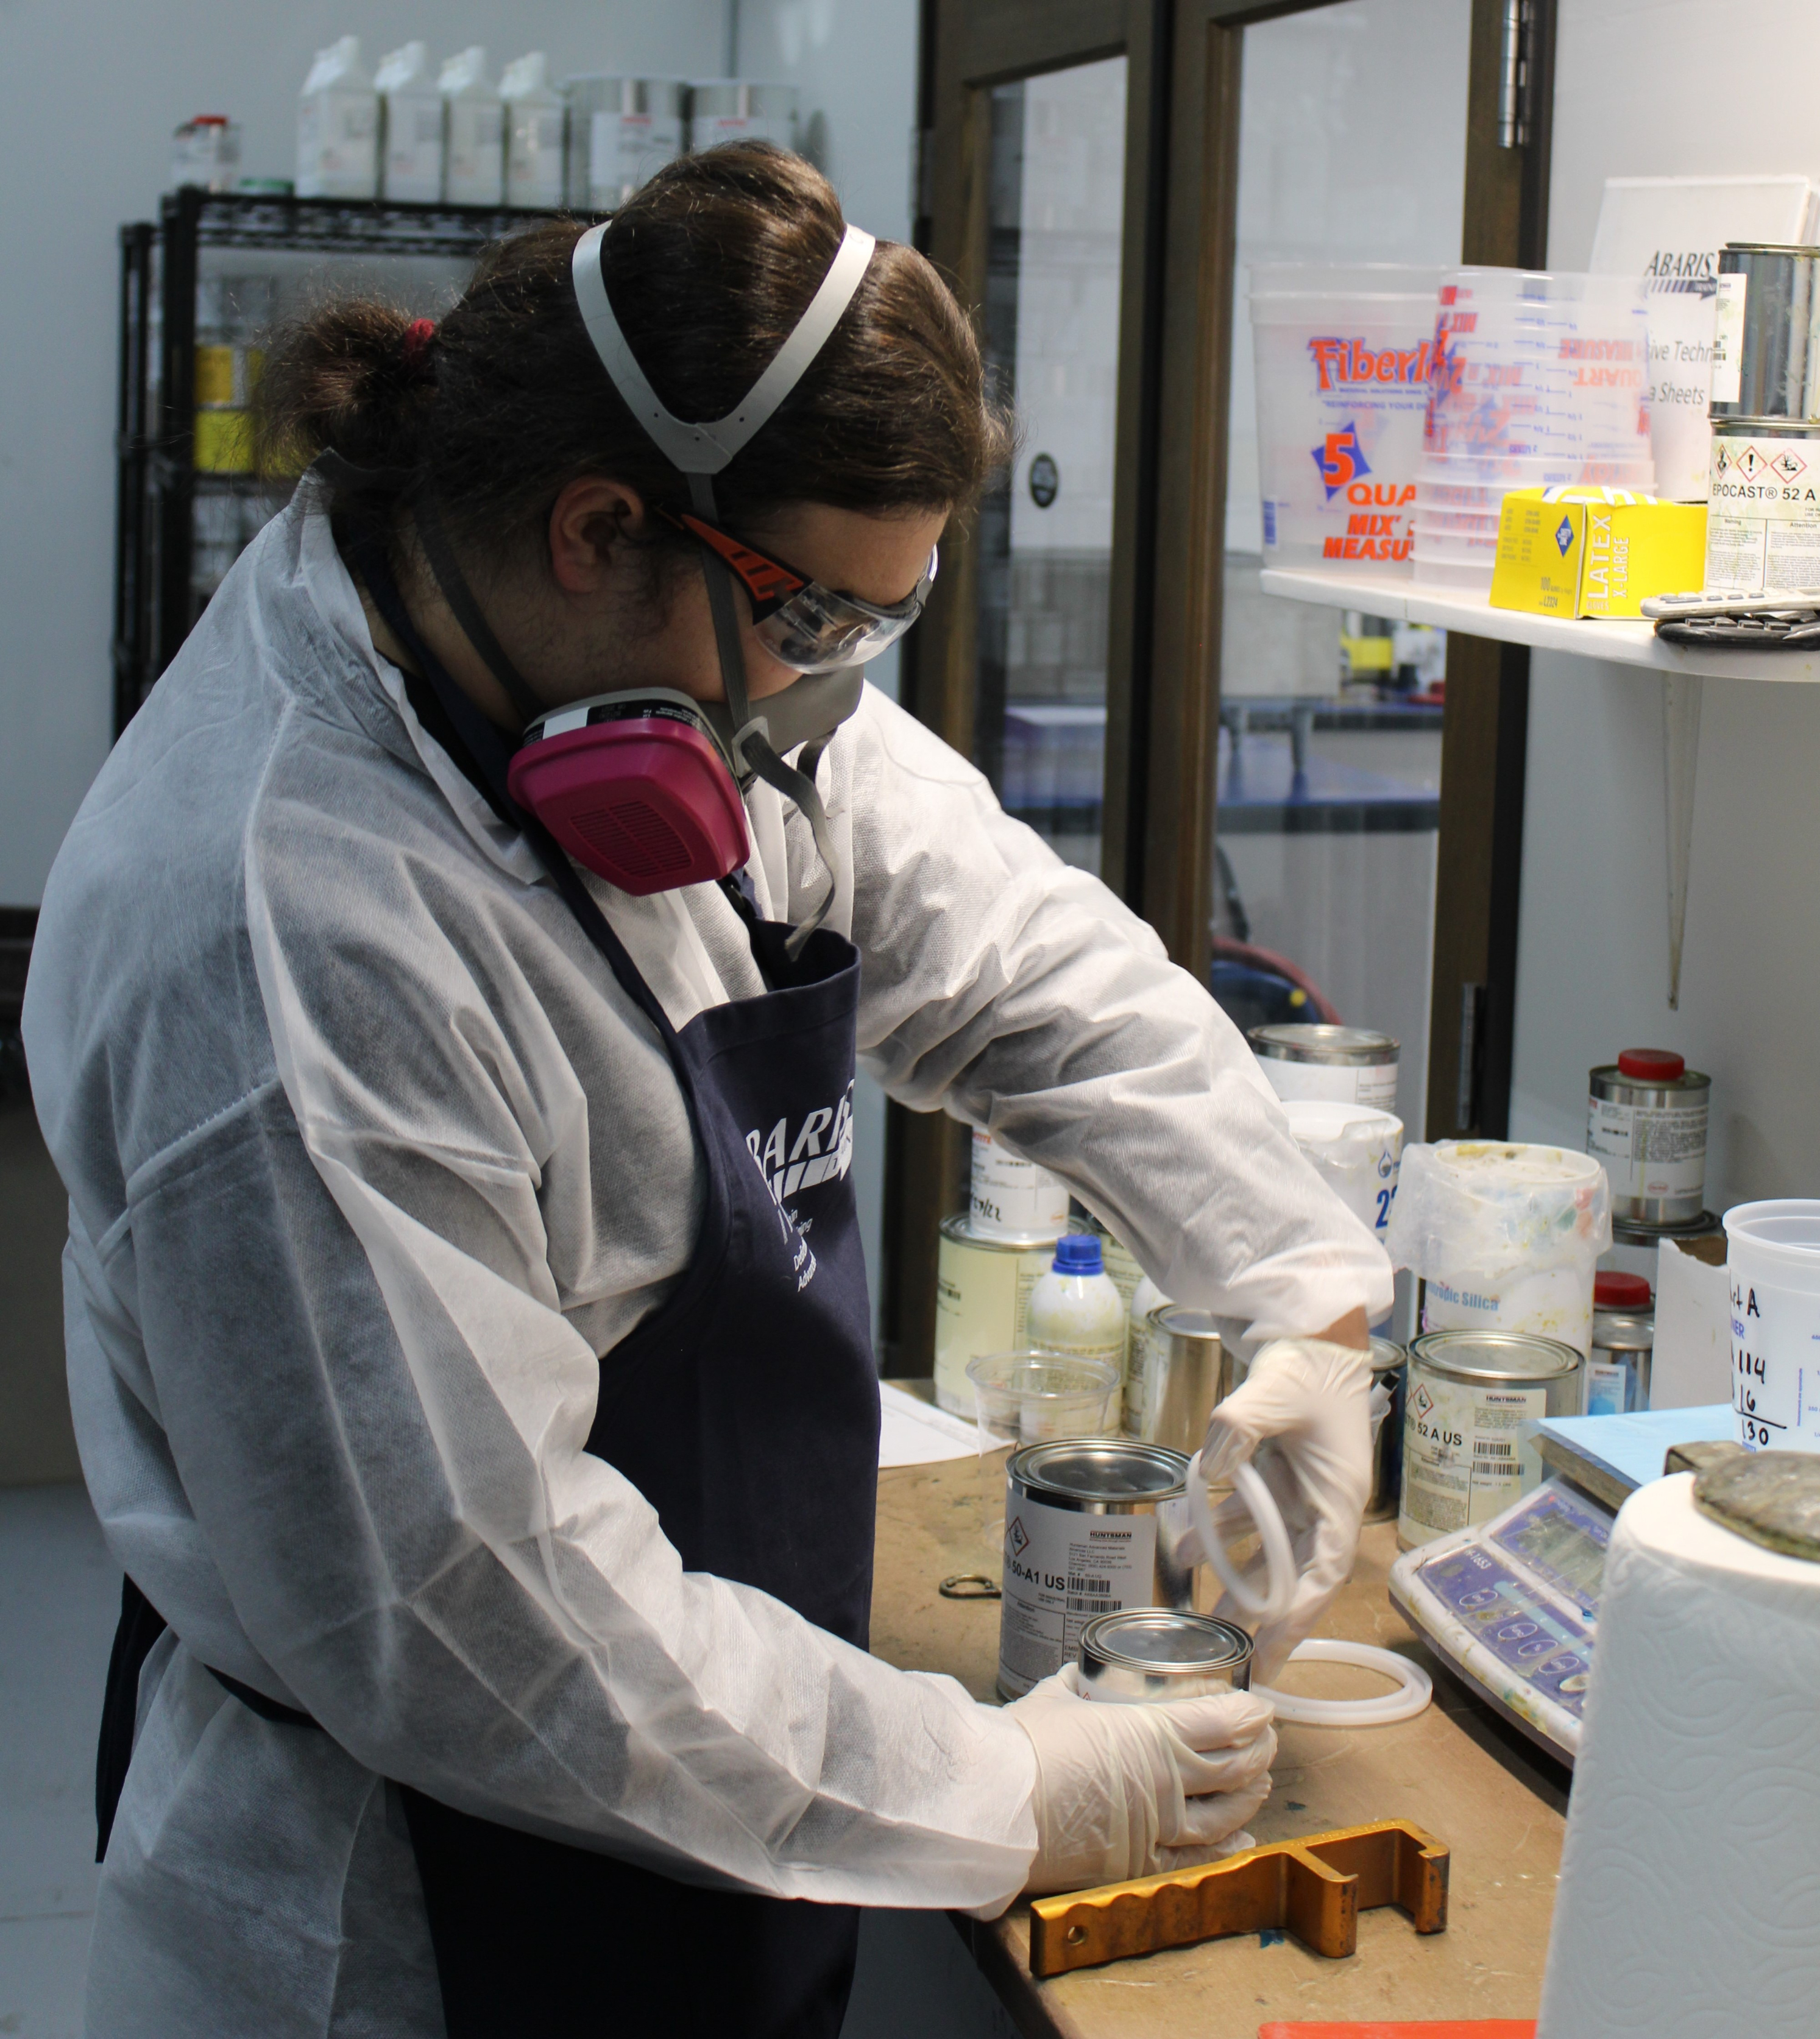
Fig. 1. The technician opens fresh cans of resin and hardener, taking control of the materials from this point forward. Photo Credit: Abaris Training Resources
In recent months, the topic of storage, handling, weighing, mixing and deployment of epoxy resins and adhesives has once again come to the forefront in conversations with clients.
Primary complaints centered around inconsistencies amongst operators on the shop floor and within the controlled contamination area (CCA) at two aerospace suppliers. After further examination, it was determined that operators were not referencing documented protocols but instead had been following methods passed down through on-the-job (OTJ) training. Even though there were links to written specifications and procedures in the operational planning, they were rarely accessed by the operators who “already know what to do.” Our conclusion was that many of the fine details within the written procedures had been lost in verbal communications and thus were being overlooked by shop personnel.


Conversations we had and suggestions we made to tighten up controls and implement best practices are described below.
Storage and handling
Open resin containers in the shop were the first clue that written or verbal procedures were either inadequate or not being used by the operator(s). In one case, the handling method was addressed in a document on how to manage hazardous materials but was not directly conveyed in the procedure referenced in the planning document.
Manufacturers warrant resin shelf life for a limited time, ranging from a few months to years — as long as you do not open the packaging! This means that the moment the container is opened, the burden shifts to the user to further control the materials (Fig. 1).
This is how resins (especially amine hardeners) were compromised by untrained operators that left the cans open for long periods of time on the shop floor. An always-open container is more convenient for the operator, but it subjects the resins to carbon dioxide (CO2), water (H2O) or other airborne contaminants — which can affect the cured resin properties. Containers should always be sealed when not in immediate use. Better yet, purge each container with nitrogen prior to sealing to best preserve the contents.
Weighing and mixing
With epoxy resins, it is very important to have a precise stoichiometric ratio of the part A (resin) to part B (hardener) to achieve the desired number of reaction sites (cross-links) and hence, full structural properties in the cured resin.
There are two ways to measure resins — using either a parts-by-volume (PBV) or parts-by-weight (PBW) ratio as provided by the manufacturer. Most aerospace manufacturers use PBW methods to ensure accuracy (Fig. 2).

Fig. 2. This resin has a 100:14 PBW mix ratio with a total amount of 130 grams required. This works out to 114 grams of part A resin and 16 grams of part B hardener. The technician tares the container on the scale and adds the required amount of part A (left), part B (center left), combines parts A+B (center right) and mixes the two components for three to four minutes for a complete blend (right). Photo Credit: Abaris Training Resources
The criticality of this requirement cannot be understated. Operators sometimes get careless and “bounce the scale,” adding too much hardener to the resin by accident. Worse yet, they intentionally add more hardener than specified to accelerate the reaction in the name of “saving time,” resulting in compromised properties — a problem that largely goes unnoticed until it is.
Proper procedures, along with recurrent training, can go a long way toward reducing the chances of this happening. If the operator knows why the mix ratio is so important to the performance of the resin/adhesive, they are likely to be more cautious.
It turned out that the operators in this example also needed instruction on how to properly mix resins and for how long. To better assess the problem, we asked these questions: How long do your operators spend mixing? Do they all follow the same procedure? Are these details getting lost in OTJ? Are the operators taking shortcuts? The answers varied, signaling insufficient familiarity with written procedures.
Manufacturers recommend mixing for three to four minutes for small quantities of low-viscosity (less than 60 poise) materials — more time may be needed for larger quantities or high-viscosity (thixotropic) resins. We found that most operators were mixing small quantities (<300 grams) of resin for less than a minute before deploying it, and only a few took time to scrape the walls and corners of the cup unless there were contrasting colors of resin and hardener. Other topics emerged in these discussions such as awareness of pot life, work time and exotherm hazards, where there seemed to be more common knowledge.
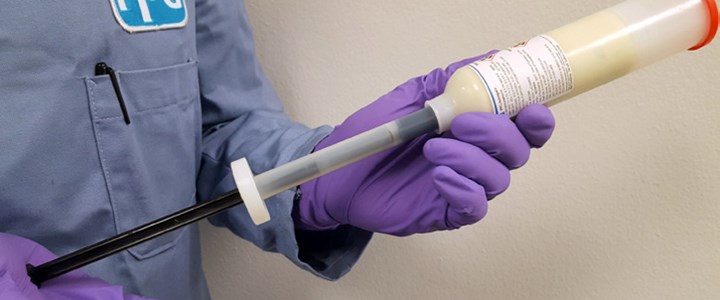
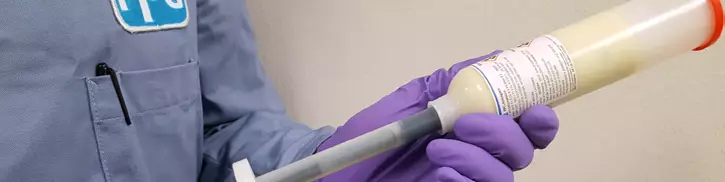
Fig. 3. The Semkit is made up of a dispensing tube filled with resin, a dasher rod filled with hardener and a ramrod for pushing the hardener into the tube. Photo Credit: PPG, Sylmar, California
Additional mixing concerns came up about pre-weighed or volumetric packaging. This includes the use of a Semkit, two-part cartridge or a resin bi-pack.
- Semkits1 come with part A in a tube and part B in a dasher rod (plunger). Short of an automated Semkit mixer, mixing these by hand requires some skill. The proper technique: Once the dasher rod is screwed into the top of the tube, push the part A resin up the tube to make room for the part B. Next, retract the dasher rod, and then, using the ramrod, slowly fill the cavity with the part B hardener (Fig. 3). Afterwards, holding the red-capped side of the tube upward, push the impeller piston all the way up and down a few times with the ramrod still in place, rotating the impeller at least 180º per stroke. Remove the ramrod and continue mixing for a specified time or number of strokes as indicated on the Semkit card or label. The dasher rod is then removed and the appropriate nozzle is screwed into the end. Place the tube in the dispensing gun and extrude a four- to five-inch ribbon of resin prior to its use in the prescribed application.
- Cartridges require that the operator check to be sure that both the part A and B are coming out of the end of the cartridge before attaching the tip. First, position all cartridges to be used vertically to enable resins to settle and air to come to the top. Install the cartridge in the gun and hold it vertically with the tip pointing up. Push the plunger until both A and B parts are present. Apply the mixing tip and extrude a four- to five-inch ribbon before use (Fig. 4).
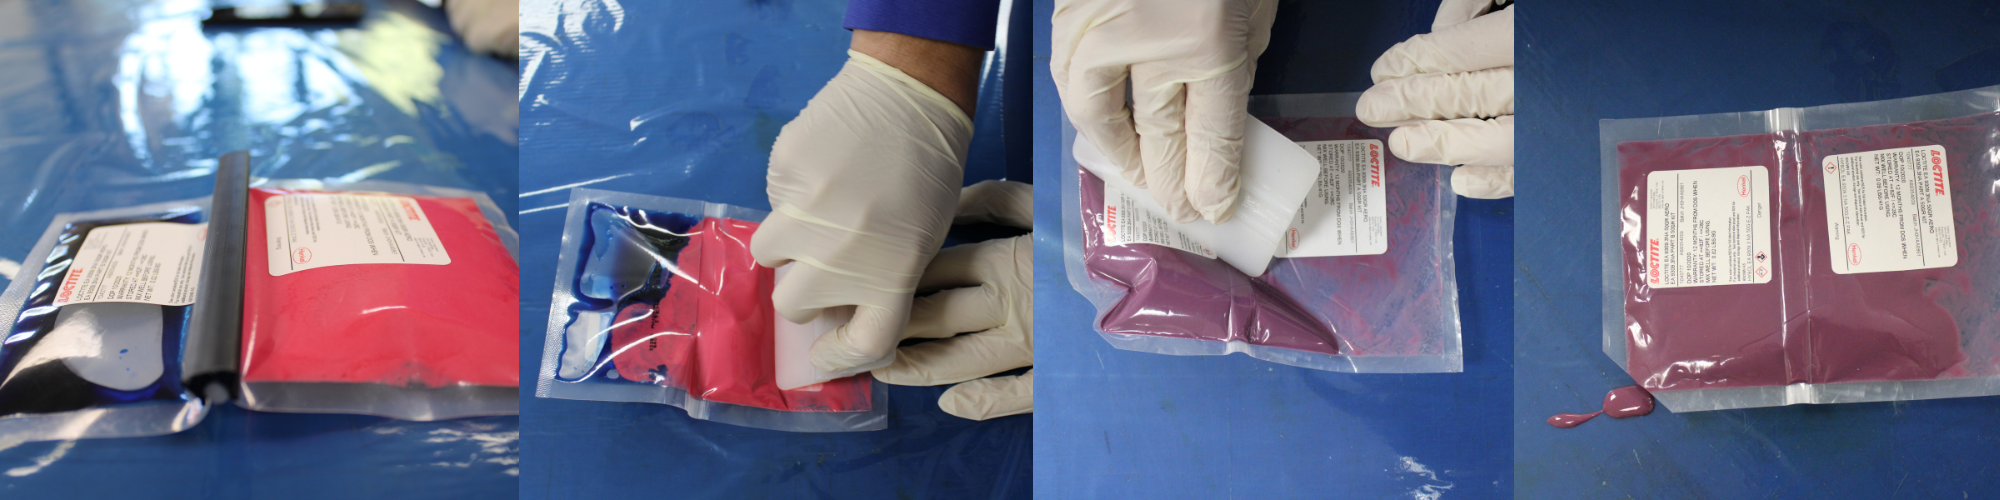
- Bi-packs contain the two parts, separated in two sides of a plastic pouch — usually separated with a removable divider strip or burst seal. The seal is removed, and the resin is moved toward the hardener in the pouch and mixed for at least four minutes (Fig. 5).
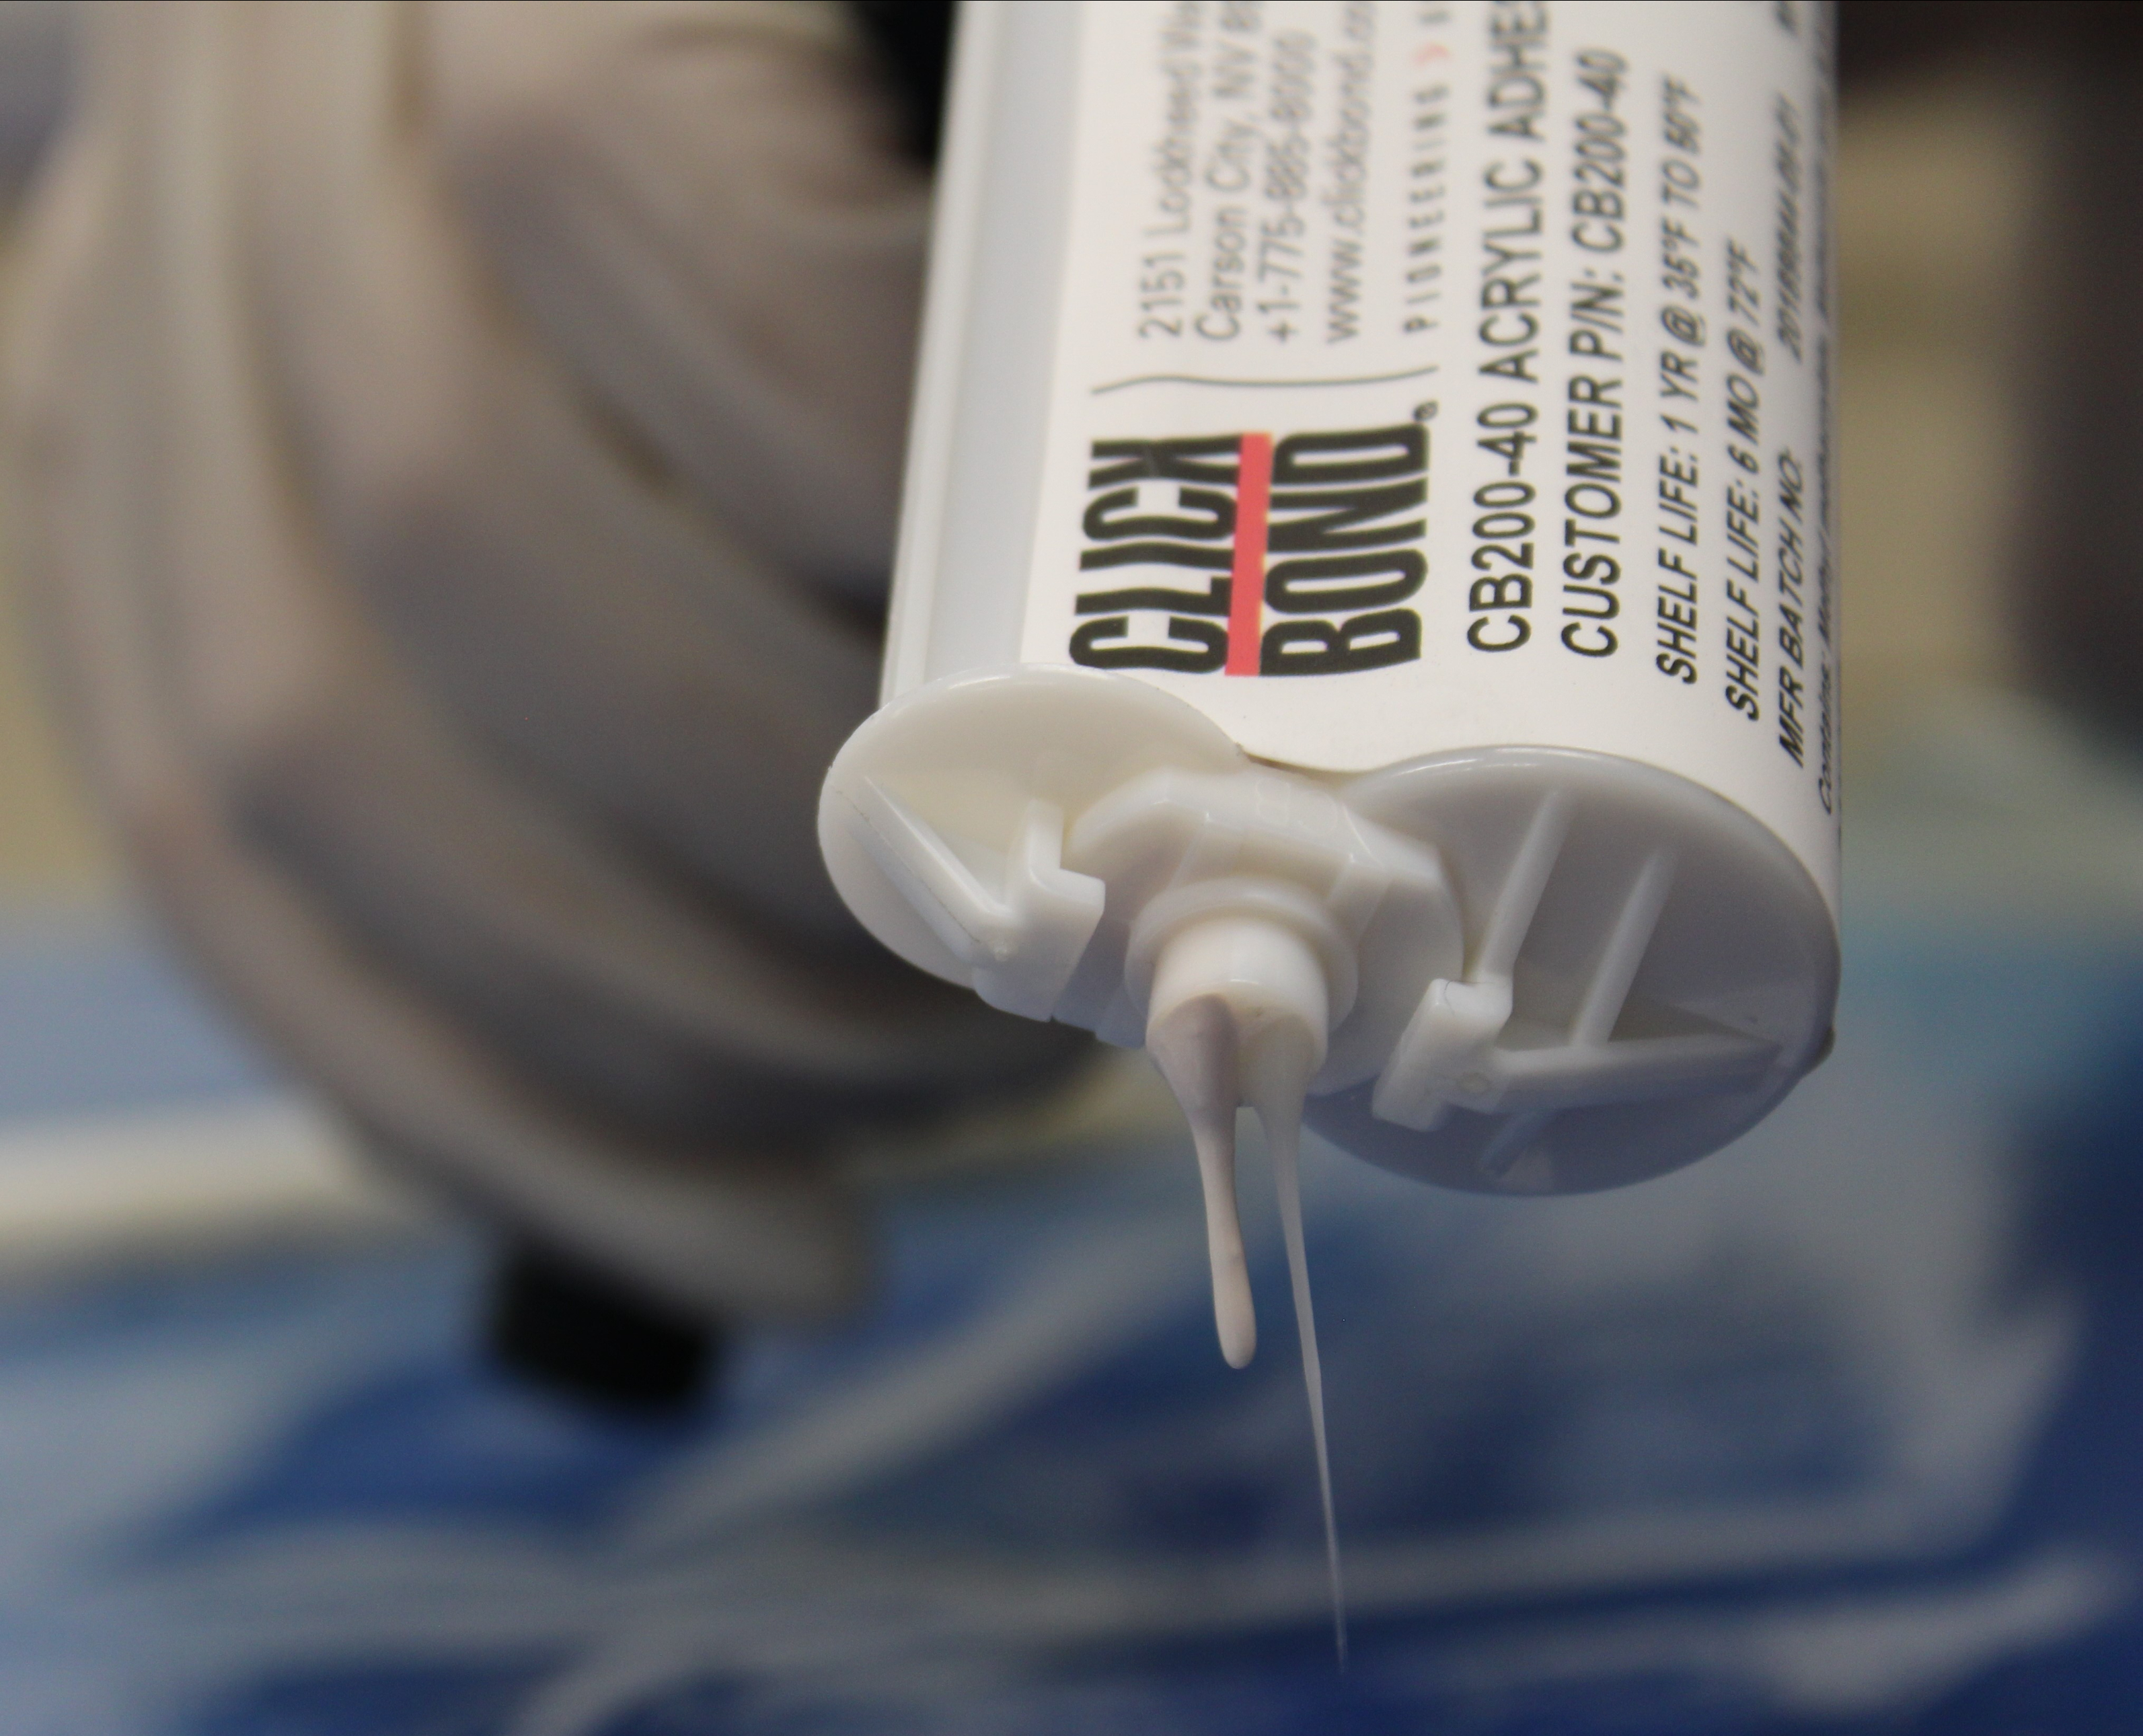
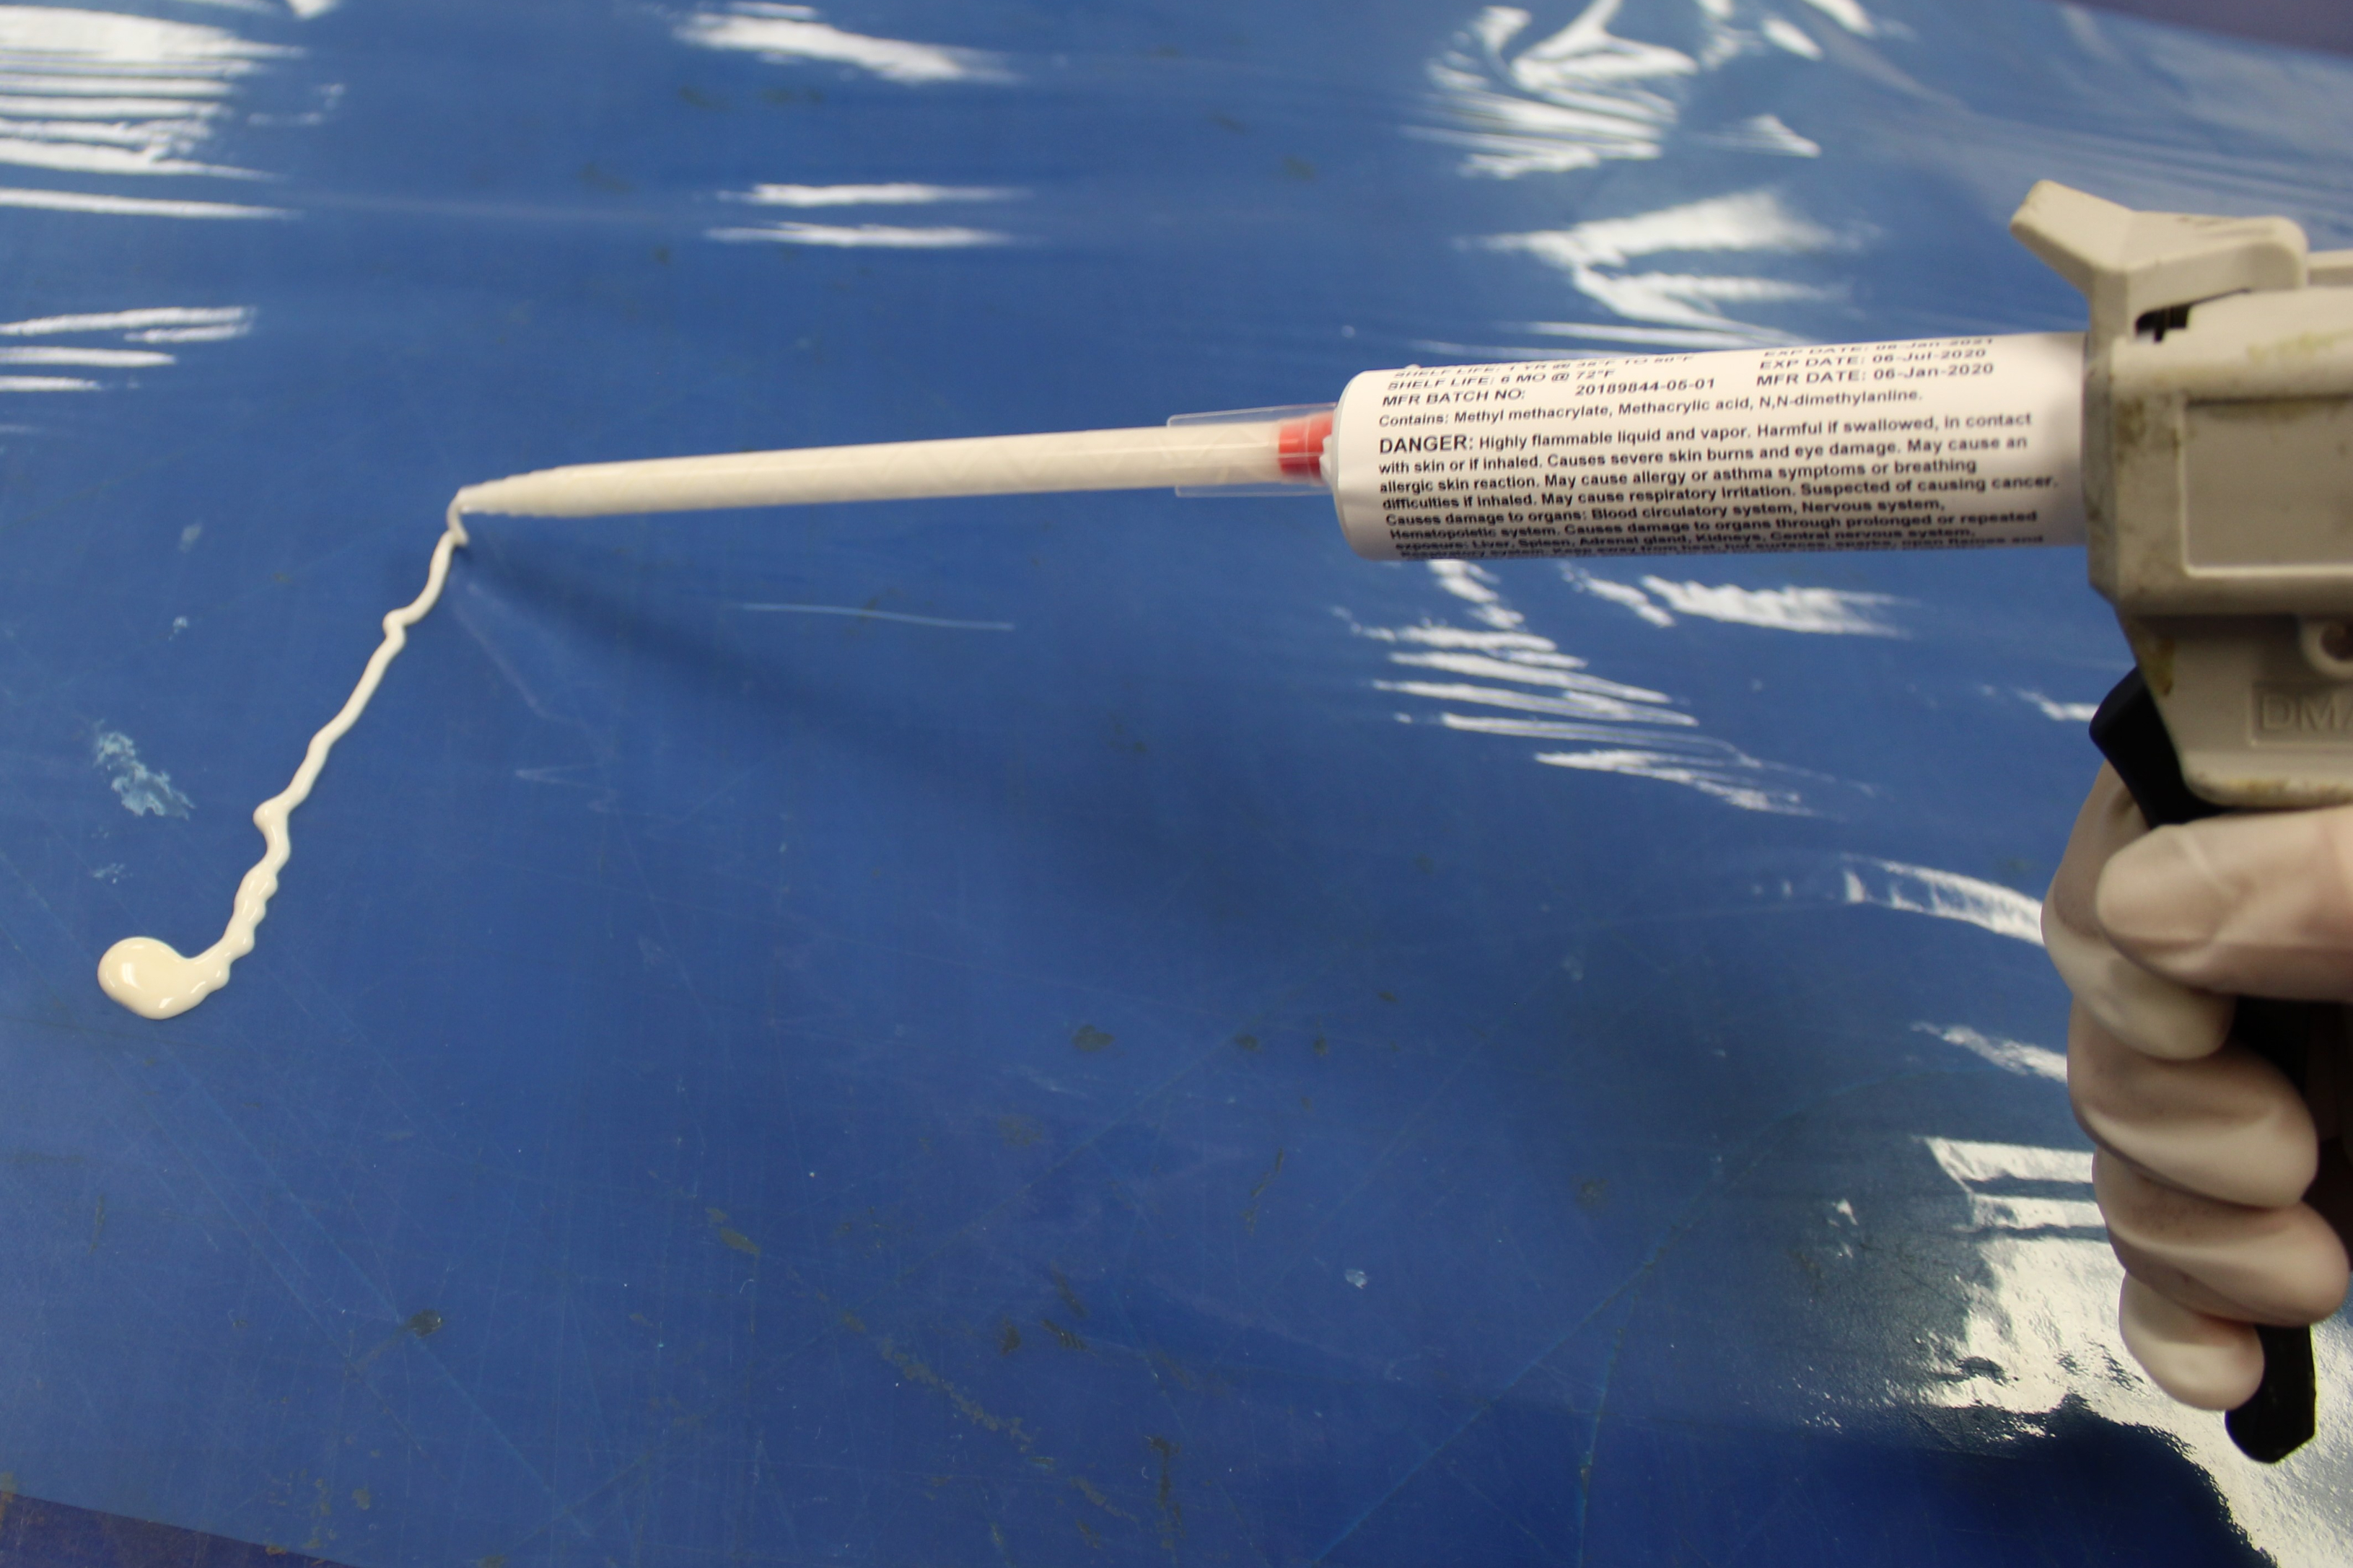
Fig. 4. The technician checks to be sure that both parts A and B are dispensing prior to installing the mixing tip (top). Extruding a small ribbon of resin through the mixing tip prior to using the material (bottom). Photo Credit: Abaris Training Resources
Pharmacy cage
For high-volume resin and adhesive users, it is recommended that a centralized “pharmacy” system, made up of trained personnel, certified in all aspects of storage, handling, weighing, mixing and distribution, be assigned to prepare sealed kits of precisely measured resins and hardeners needed to meet the demands of each operator’s work order(s). This system can be automated and linked to production control so that the pharmacy can work ahead of operator demand.
Uncommon knowledge
It may seem that all of this is common knowledge. However, based on our discoveries, what was thought to be well understood was not. This brings to light one of the issues that I often see in composites production facilities, which is that the simplest stuff gets overlooked because it’s not really watched for. The smallest, most important details of the written procedures can get filtered out over time, like a bad game of technical telephone. The good news is that we can audit our operations, provide recurring training to the operators and refocus attention on the little details. We will all feel better about the quality of the product!
References
- Injection-style PPG Semkit package, manual use instructions found at https://www.ppgaerospace.com/getmedia/cc4486e8-4925-45c4-b3ff-8c8488ec318e/Semkit-Mixing-Guide.pdf.aspx


.jpg;maxWidth=300;quality=90;format=webp)

Related Content

Novel dry tape for liquid molded composites
MTorres seeks to enable next-gen aircraft and open new markets for composites with low-cost, high-permeability tapes and versatile, high-speed production lines.
Read More
Price, performance, protection: EV battery enclosures, Part 1
Composite technologies are growing in use as suppliers continue efforts to meet more demanding requirements for EV battery enclosures.
Read More
Plant tour: Joby Aviation, Marina, Calif., U.S.
As the advanced air mobility market begins to take shape, market leader Joby Aviation works to industrialize composites manufacturing for its first-generation, composites-intensive, all-electric air taxi.
Read More
The state of recycled carbon fiber
As the need for carbon fiber rises, can recycling fill the gap?
Read MoreRead Next

Troubleshooting failures in adhesive-bonded composite joints
Cause of adhesive bonding inconsistencies or failure may be numerous. According to Louis Dorworth, the following points should be examined to determine the culprit.
Read More
Why does my composite mold leak under vacuum or applied pressure?
Louis Dorworth of Abaris Training Resources outlines key considerations to make when fabricating quality composite molds to minimize risk of leakage under pressure or vacuum.
Read More
CW’s 2024 Top Shops survey offers new approach to benchmarking
Respondents that complete the survey by April 30, 2024, have the chance to be recognized as an honoree.
Read More